


(Disclaimer: As an affiliate, I may get a very small compensation for recommended products that are purchased through a link in my post. It does not affect your price.)
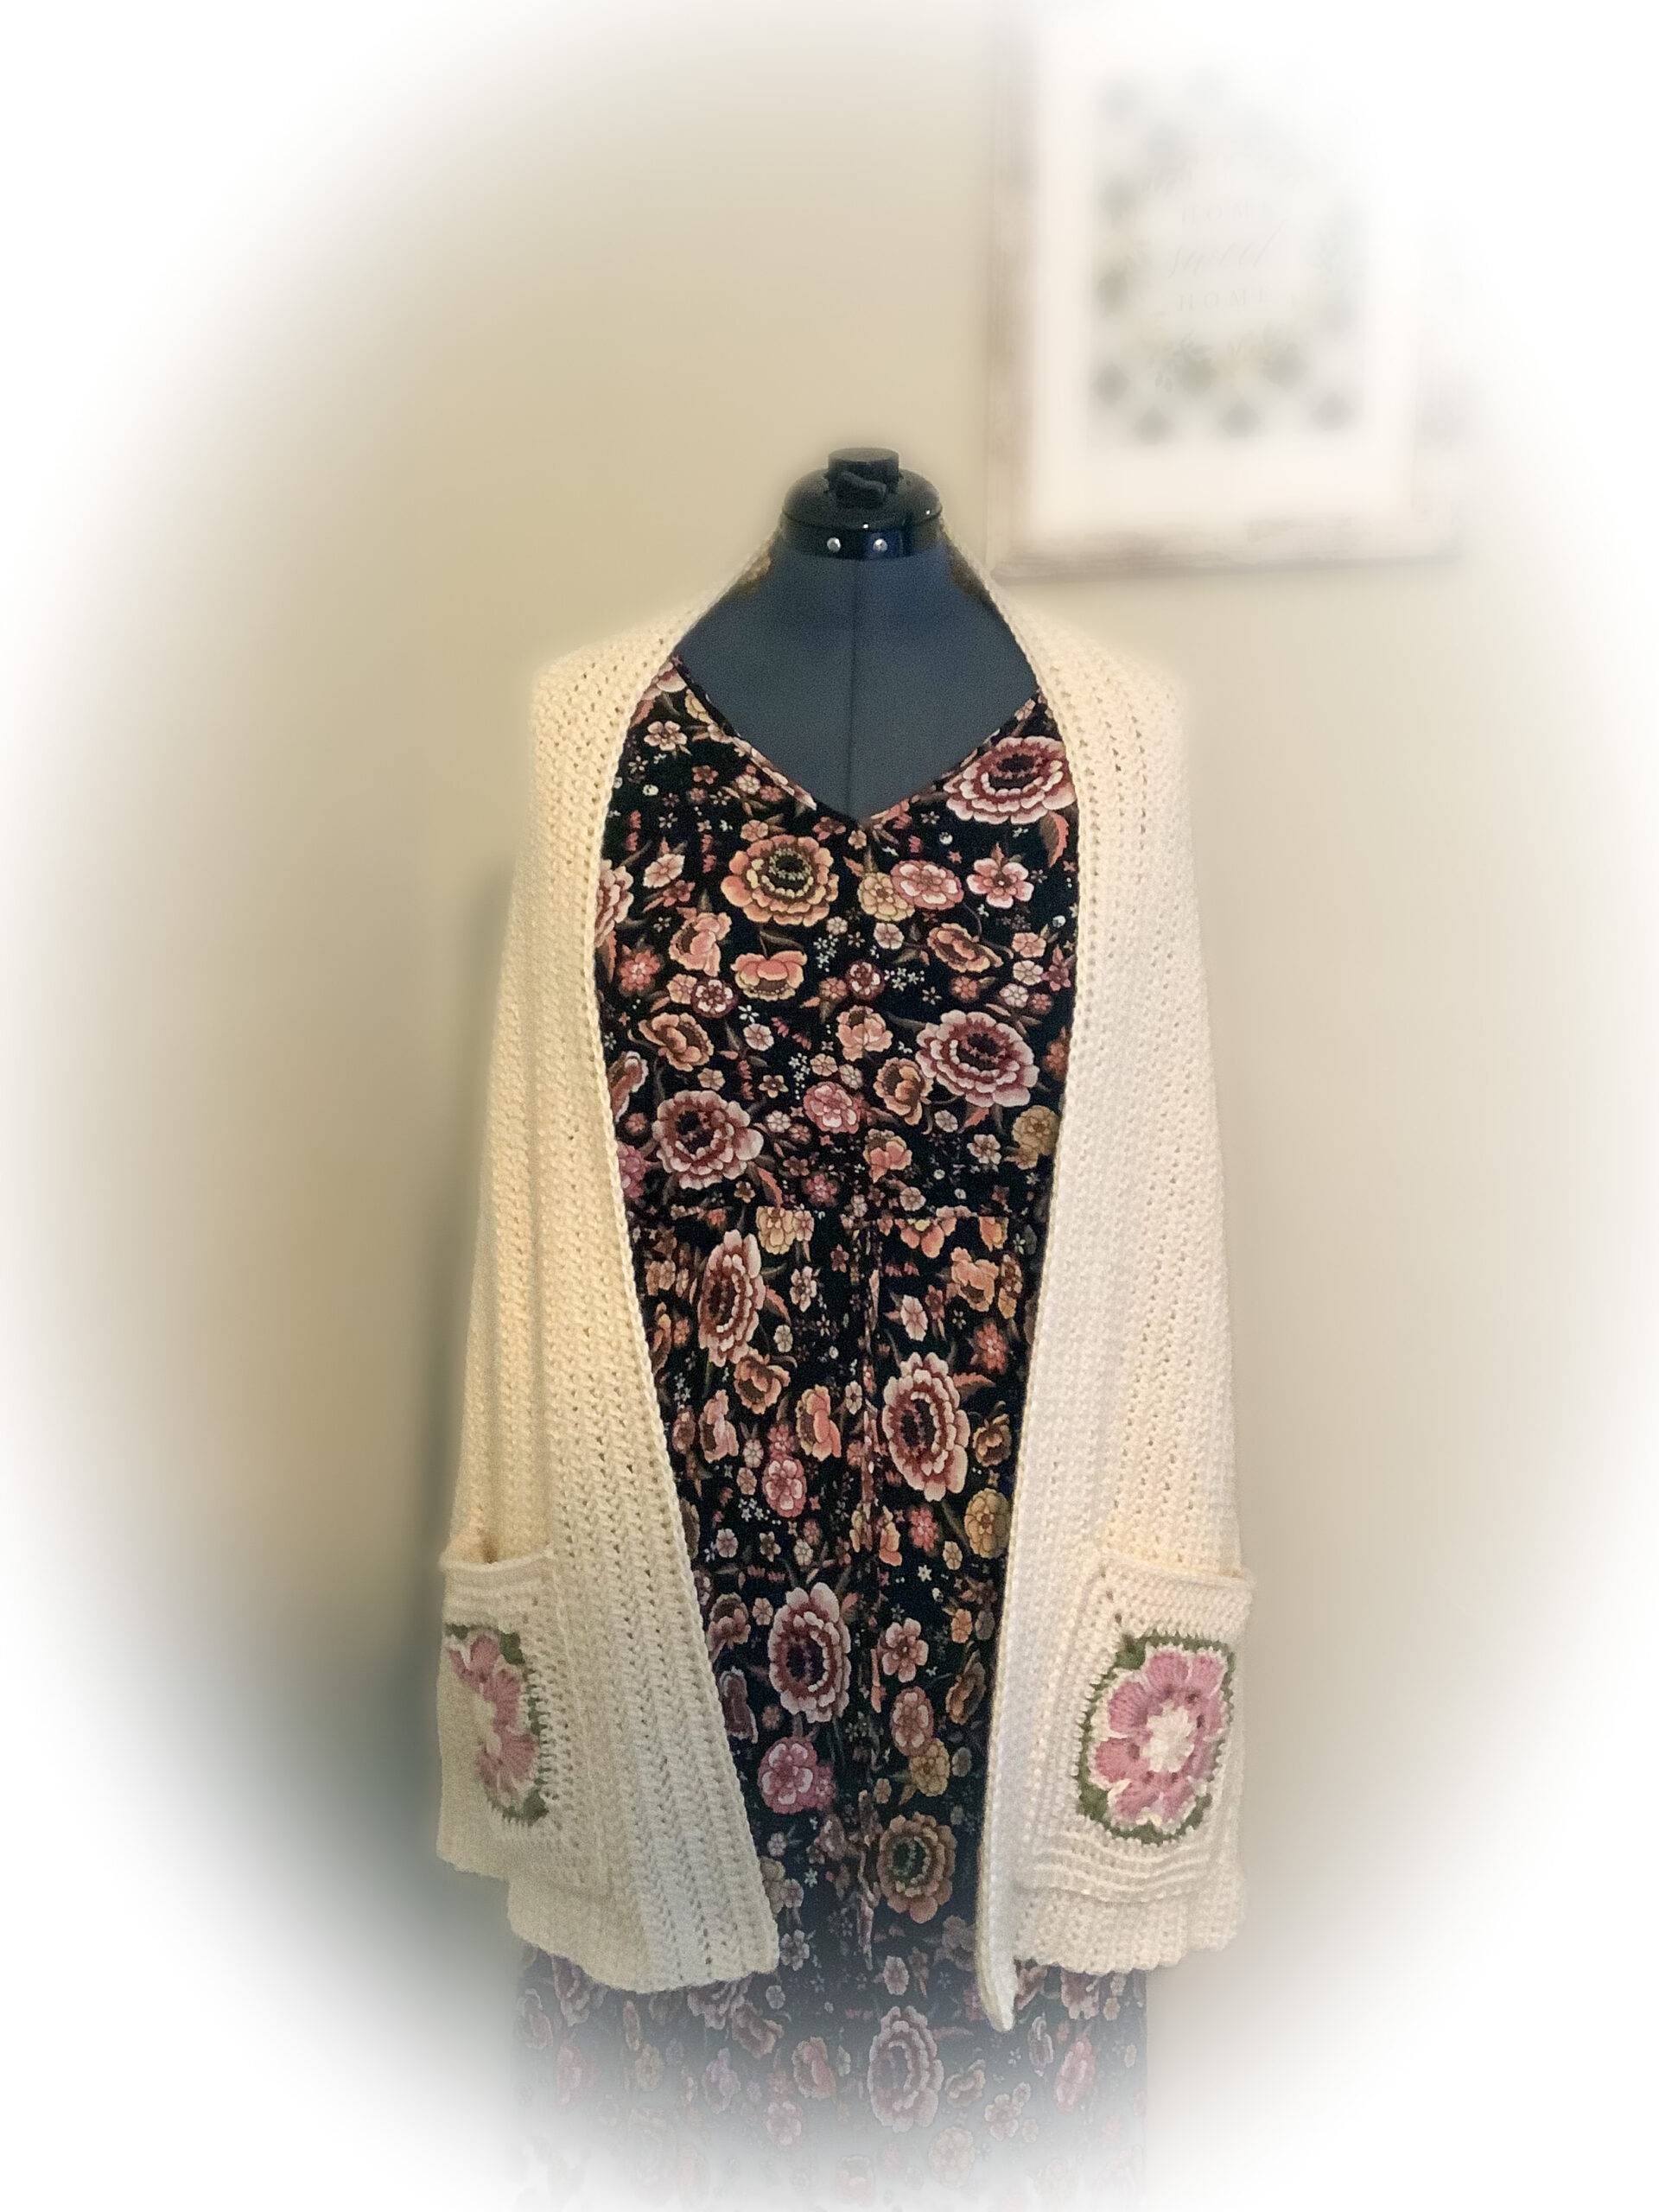
I made this pattern for the A Flower in My Pocket Shawl because I’ve had numerous requests from friends and family for pocket shawls.
Pocket shawls are great to throw on when you just want something to cover your arms, but don’t want to wear a sweater or put get wrapped up in a blanket. The pockets are convenient for holding your phone, tissues, glasses or tv remote (all things I tend to misplace.)
Pocket Shawls Make Great Gifts
While they are a perfect project to make for yourself, they also make great gifts. Include a book or put a packet of tissues in the pocket. If it’s for a loved one, place a picture of yourself in a pocket.
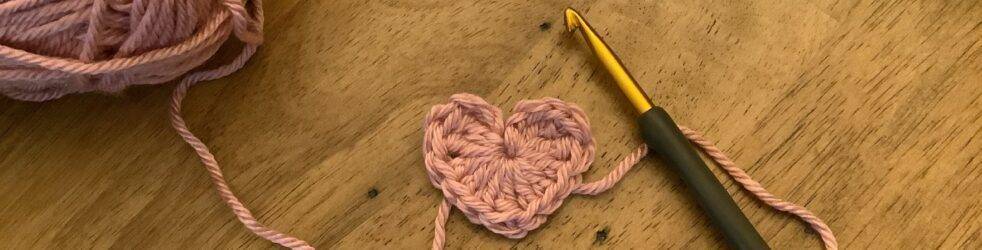
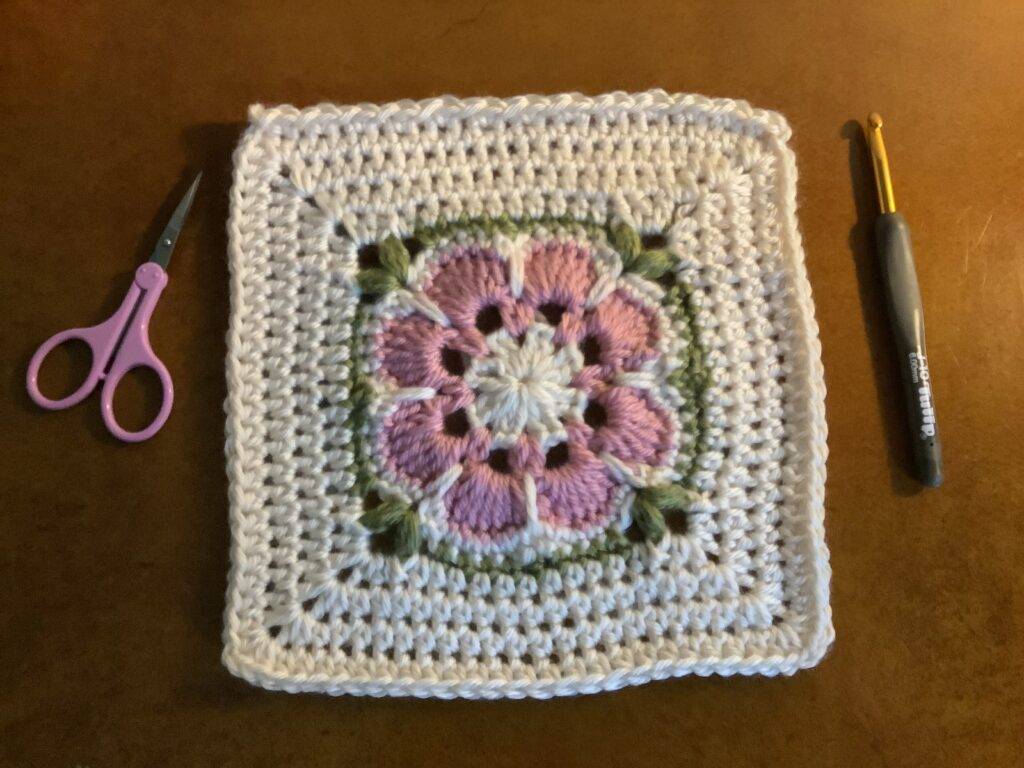
While the pocket for A Flower in My Pocket Shawl is a fairly easy 8 petal African Flower square, I’m including a video to help. You can make your pockets larger by adding more rounds if you like.
Of course, you can use any color and any yarn you like. I went with neutral colors for a friend who wanted keep it at work, where it’s always cold.
I suggest a #4 weight yarn. It’s just right for this project.
You can use any 4 weight yarn. I like how soft this yarn is and they have a good selection of colors. It’s warm without being too heavy and drapes well without losing its shape.
The herringbone half double crochet is one of my favorite stitches. The rows have a slightly angled look providing an extra bit of interest. The A Flower in My Pocket Shawl has a nice texture; not too heavy, but dense enough to hold its shape.
Let’s get started!
Materials I Used:
- Red Heart Soft yarn, #4 weight
- Base color: off white (the shawl and pockets took right at 3 skeins, 256 yards each. (You may want to get an extra)
- Leaves: leaf (just a small amount)
- Flowers: rose blush (a small amount, I didn’t measure, sorry)
- 6mm hook
- Scissors
- Darning needle for weaving ends
Stitches Used:
Ch-chain
Sc-single crochet
Hdc-half double crochet
Hhdc-herringbone half double crochet
Chainless dc
Sc spike st-single crochet spike stitch
Sl st-slip stitch
Leaf stitch (a mini puff stitch)
Shawl:
6mm crochet hook
- Ch 225 (more or less depending on how long you want it).
Row 1: Hdc in the back bump of the 2nd ch from the hook and in each back bump across. (You can just hdc into the ch if you prefer) Ch 1 turn,
- Row 2: herringbone hdd (hhdc) back loop only in each stitch across, ch1 turn
- Row 3: hhdc in each full stitch across, ch 1 tur
Repeat row 3 until it reaches 16” in width. You can make it wider by adding more rows.
For your last row, regular hdc front loop only across on the right side (the tail from the initial chain will be on your left). This way, your first and last rows match. Make the stitches a bit tighter on the last row, maybe even switch to a smaller hook so they match the initial row.
My shawl is 67” long.
Pocket (make 2)
Make a magic circle:
Round 1:
Ch 2, (counts as first dc)1 more dc in the circle, ch 1
*2 dc in the circle, ch1*.
Repeat from * to* for a total of 16 dc ch 1, end with a ch 1, sl st into the top of the first ch 2, fasten off.
Pull the tail from the magic circle tight and weave it in.
Round 2:
With your next color (I used rose blush) join yarn in any ch 1 sp (make sure the right side is facing) pull through, sc in the same sp, put your hook through the left loop of the sc, pull yarn through make another sc (chainless dc)
Ch 1, dc in the same space.
*In the next ch sp, dc, ch 1, dc*
Repeat from * to *
At the end of the round, sl st into the top of the first chainless dc
Round 3:
Sl st into the next dc.
Sc into the first space between v stitches, put your hook through the left loop of that sc, pull the yarn through, yarn over and pull through 2 loops (chainless dc)
Place 6 more dc in the same space
Place 7 dc in each space between v stitches around, join the first dc with a sl st, fasten off, weave in end.
Round 4:
Change to the color you want for making an outline around the flower. (I’m going back to off white)
Join your yarn in any of the spaces between the 7 dc , pull through and then make a sc in the top of each dc (7 sc)
In the “dip” between the 7 dc clusters, make a sc spike st by going down to the row before, put your hook through the middle of the 2 dc, pull the yarn through, pull up a long loop and complete a sc,
Make a sc in each of the next 7 stitches, and a sc spike st in the row below, between the 2 dc.
Repeat this pattern around. Sl st into the first sc and fasten off.
Round 5:
With the next color (I used leaf) join yarn in one of the spike sc’s, pull the yarn through and ch 2
Skip 1 stitch, sc into the next 4 stitches, ch 1, skip 2 stitches
First corner (the leaf stitch, basically a mini puff stitch)
Yarn over and into the top of the sc spike st put the hook through the stitch, pull through, do 2 more times, then pull through all 7 loops on the hook. Ch 1 to lock it in, ch 2 more
Repeat the leaf stitch in the same stitch, ch 1 to lock it in. You just made the first leaves!
Sk 2 stitches
Now for a full side: (starting to look like a square)
*Sc into the next 4 stitches, sk 1 stitch
Hdc into the top of the sc spike st
Sk 1 stitch, sc into the next 4 stitches (this is helping to straighten out the square)
Ch 1, sk 2 stitches,
(Corner) repeat stitches from first corner*
Repeat from * to * until you reach the first ch 2, sl st to join and fasten off.
Round 6:
Change color (I used off white for the remaining rounds)
Join in any hdc, pull through, ch 2
*Hdc in each stitch across until you get to a ch sp before the corner, hdc in the sp, then yarn over, put hook behind the leaf stitch, pull the yarn through, yarn over, complete a hdc,
2 hdc in the corner ch sp, ch 1, 2 more hd in ch sp*
Repeat from * to *
Join at the top of the first ch 2 with a sl st
Round 7:
Ch 2, *hdc in each st until you reach the ch sp in the next corner, 2 hdc, ch 1, 2 hdc all in the ch sp*
Continue around, Join at the first ch 2,
Repeat round 7 until the pocket is the size you like (I made 9 rounds)
Fasten off and weave in the end. If you didn’t make an invisible join, then place the side where you fastened off on one of edges that will be sewn on the shawl.
Try the shawl on and find a comfortable placement for the pockets. Use stitch markers to hold the top corners in place to give you an idea of where to attach the pockets.
Attach the pockets with a simple whip stitch, or any stitch you prefer. The rows of hhdc in the shawl make it easy to center the pockets. I like to leave at least 2” between the bottom of the pocket and the bottom edge of the shawl.
Weave in any ends you have.
That’s it! You did it!
Enjoy the pattern, but do not sell as your own. You can sell any shawls you make, but please credit back to my site for the pattern.
Check out my store for the PDF pattern and homemade crochet products.
Thank you,
Debi
