

I was going to make a blanket, but I decided I wanted something warm that I could just throw over my shoulders and keep on when I got up to make a cup of tea or to grab more yarn!
The pockets are handy, not only for keeping my hands warm, but for holding my phone, tissues, crochet hooks, etc.!
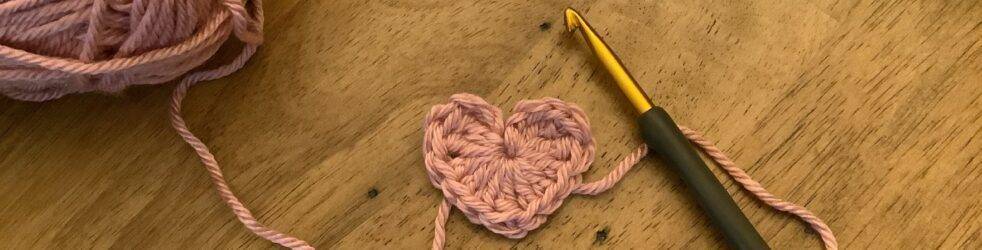
I’m so happy with how this came out. It’s exactly what I was looking for!
If you decided that you’d rather make it into a blanket, keep the same number of initial chains and just follow the pattern until it’s as wide as you’d like.
Bernat Forever Fleece Super Bulky 6 Weight Yarn
Color A: White Noise: 3 skeins
Color B: Smoke: 4 skeins
10mm crochet hook
With color A:
Chain 122 (My shawl is 68” long without fringe and 84” long with fringe.)
Row 1:
Hdc in the back bump of the 2nd chain from the hook and in each back bump across.
Ch 1, turn
Row 2:
Sc in the first stitch.
Put your hook in the first stitch, pull the yarn through, put your hook in the next stitch, pull the yarn through, yarn over, pull the yarn through the 3 loops on the hook.
*Put your hook in the same stitch you just came out of, pull the yarn through, put your hook in the next stitch, pull the yarn through, yarn over, pull through the 3 loops on the hook.*
Repeat from * to * across.
In the last stitch, drop color A before pulling through the last 3 loops. Pick up color B, pull through the last 2 loops, chain 1, include the tail into the chain.
Turn
Row 3-4
Sc in the first stitch.
Put your hook in the first stitch, pull the yarn through, put your hook in the next stitch, yarn over, pull the yarn through the 3 loops on the hook.
*Put your hook in the same stitch you just came out of, pull the yarn through, put your hook in the next stitch, pull the yarn through, yarn over, pull through the 3 loops on the hook.*
Repeat from * to * across.
In the last stitch drop color B before pulling through the last 3 loops. Pick up color A, pull through the last 3 loops, chain 1, include the tail into the chain.
Turn
Row 5-6
Sc in the first stitch.
Put your hook in the first stitch, pull the yarn through, put your hook in the next stitch, yarn over, pull the yarn through the 3 loops on the hook.
*Put your hook in the same stitch you just came out of, pull the yarn through, put your hook in the next stitch, pull the yarn through, yarn over, pull through the 3 loops on the hook.*
Repeat from * to * across.
In the last stitch, drop color A before pulling through the last 3 loops. Pick up color B, pull through the last 3 loops, chain 1, include the tail into the chain.
Turn
Repeat rows 3-6 until your shawl is as wide as you like, ending with color B. Most shawls are between 16”-20”. Mine is 15” before the collar border and 18” with the border.
Border/collar:
Row 1
At the end of the color B rows, ch 1, turn and double crochet in each stitch.
Chain 3, turn
Row 2
Front post dc in the first dc from the previous row.
Back post dc in the next.
Keep alternating fpdc and bpdc across. Dc in the top of the chain from the previous row.
Ch 2 and turn
Row 3
Bpdc in each dc that’s pushed to the back and fpdc in each dc that’s pulled to the front across.
Dc in the top of the chain from the previous row.
Ch 2 and turn
Repeat row 3 until the border is as wide as you like. I added 5 rows for an added 3”, but you may want to go wider to make more of a collar.
At the end of your final row, fasten off.
Join color B in the corner of the beginning chain row with a slip knot, chain 2.
Hdc in each stitch/end of row across.
When you reach the corner, chain 1 and hdc in each stitch across. Keep your stitches loose so it doesn’t pull in.
At the next corner, ch 1 and continue to hdc in each stitch to the next corner.
At the bottom corner, fasten off and weave in any loose ends.
Pockets (make 2)
With color B:
Chain 23
Row 1
Sc in the 2nd chain from the hook (best if you go into the back bumps of the chain)
Sc in each stitch across.
Ch 2, turn
Row 2
Dc in the first stitch and in each stitch across.
Ch 2, turn
Row 3
Fpdc in each dc from the previous row. Bpdc in the next dc from the previous row.
Continue to alternate fpdc and bpdc across.
Dc in the top of the turning chain from the previous row.
Ch 2, turn
Row 4
If a post if pushed to the front, make a fpdc.
If the post is pushed to the back, make a bpdc.
Continue across the row.
Dc in the top of the turning chain from the previous row.
Ch 2, turn
Repeat row 4 until the pocket is square (mine was 9” x 9”). It’s square when you can fold corner to corner and it’s a triangle with equal sides.
The last row:
Ch 1, turn (you should be on the wrong side (the tail from the initial chain will be on your right.)
Slip stitch in the front loop of each stitch across.
When you get to last stitch, measure out about 45” of the yarn (about 5 times the length of any side) and cut it. Chain 1 and pull all the yarn through the last stitch and use a needle to sew the pockets to the shawl. I placed them midway between the shawl portion before the 2 sides and just above the bottom border.
I’m pretty tall, and if you’re not, you may want to place your pocket a little higher on the shawl.
The tail from the initial chain should now be on your left so you have the right side facing you as you sew it on the right side of the shawl.
Use stitch markers to hold the pocket while you stitch it on with just a simple whip stitch or any stitch you like.
Try to keep the seam in the raised part of the stitches so it doesn’t show through on the back side.
If you don’t want fringe, you are finished!
If you do want to add fringe:
Since my border/neckline and pockets were all color A, I decided to continue the fringe with color A.
I’m not usually a fan of fringe, but I felt the shawl needed it to looked finished.
Decide on the length you want. I made mine about 8” finished. I used my iPad case to measure about 10”, wrapped 3 times, so 6 pieces. Cut the bottom edges so they are open.
With the right side facing you, put your hook in the right hand corner stitch from the back to the front.
Loop the 6 pieces in half equally.
Pull the loop through the stitch.
Drop the hook and use your fingers to pull the ends through the loop.
I like to pull each strand individually, trying to keep them even until the loop is snug but not tight.
Skip the next stitch and do the same thing.
Skip a stitch between each piece of fringe, ending at the opposite corner.
Trim each piece to the desired length. Mine were about 8”.
You’re done!
